So, you’ve got a logo—a brand mark, a design, maybe even a cool piece of artwork—and you’re ready to turn it into embroidery. Whether you're decorating uniforms, hats, shirts, or merch, there's one essential step before your embroidery machine can do its magic: logo to PES conversion.
In this guide, we’ll break down everything you need to know about turning your logo into a PES embroidery file—even if you're a total beginner. You’ll learn what PES is, why it's essential, how conversion works, and how to avoid common mistakes that ruin stitch-outs.
Want the fast, easy way? Digitizing Buddy offers affordable and accurate logo-to-PES conversion. Just upload your logo, and they’ll send you a machine-ready PES file in hours—complete with clean stitching, the right size, and perfect formatting.
Let’s get started!
What Is a PES File?
PES stands for PEmbroider Stitch, and it’s the file format used by Brother and Babylock embroidery machines. It tells your machine:
- Where to place each stitch
- What stitch type to use (satin, fill, run, etc.)
- When to change thread colors
- How the design should move across the hoop
It’s like the blueprint for your embroidery machine. Without a PES file, your design is just an image—your machine can’t stitch it.
Why You Can’t Use JPGs, PNGs, or PDFs Directly
This is where many beginners get confused. You might have your logo in JPG, PNG, SVG, or PDF format—but those are image files, not stitch files.
Your embroidery machine doesn’t know how to read pixels—it needs stitches.
Renaming a file to .pes won’t work
Changing a filename from logo.png to logo.pes just confuses your machine. It’s not a real conversion.
You need to digitize the image
Digitizing is the process of turning your logo into stitch data. And it takes software, skill, and the right tools.
What Does "Digitizing" a Logo Mean?
Digitizing is more than just "converting" an image. It’s a manual (or semi-automatic) process that involves:
- Tracing the design
- Assigning stitch types to different sections
- Adjusting for density, pull compensation, and underlay
- Ensuring the design runs smoothly on fabric
- Sizing the design for your hoop and fabric type
Good digitizing makes your logo look amazing on hats, polos, jackets, and more. Poor digitizing leads to:
- Broken threads
- Uneven outlines
- Misshapen text
- Wasted time and materials
Methods to Convert a Logo to PES
Option 1: Hire a Professional Digitizing Service (Recommended)
The fastest and most reliable option is to let a pro handle it.
- Clean stitch paths
- Correct PES format
- File sized perfectly
- Ready to load into your machine
Digitizing Buddy specializes in logo-to-PES conversions. Just upload your logo and tell them the size and fabric—and you’ll get a high-quality PES file in 12–24 hours.
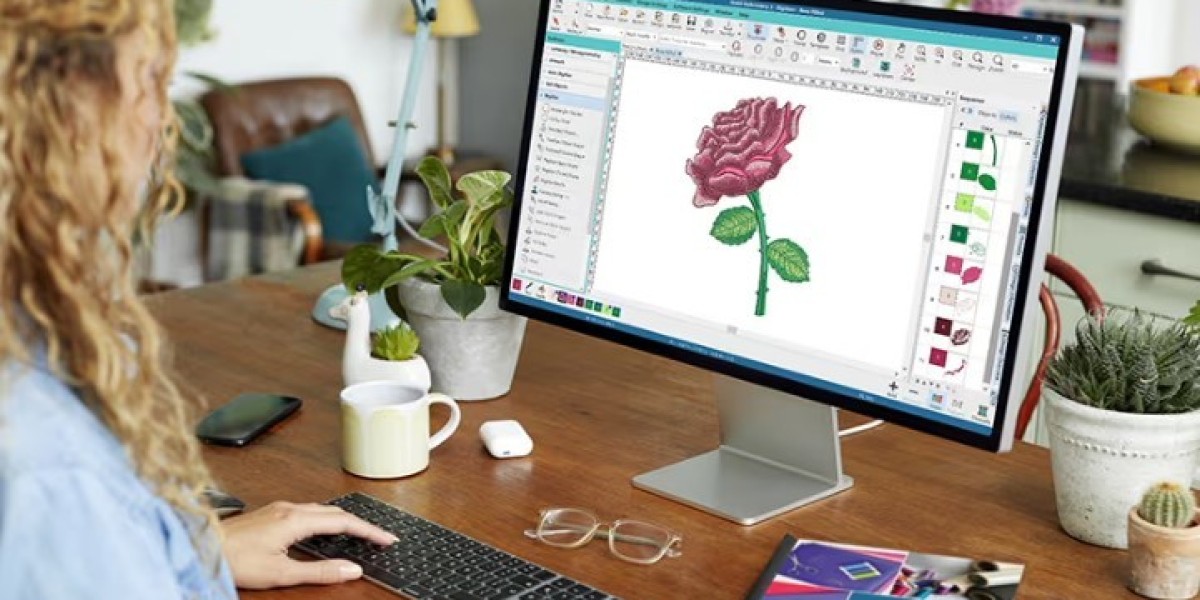
Option 2: Use Embroidery Software
If you’re tech-savvy and want to do it yourself, you’ll need digitizing software like:
- Embrilliance StitchArtist
- Hatch Embroidery Digitizer
- Brother PE-Design
- Wilcom (advanced users)
These programs let you import your image, trace it, assign stitches, and export a PES file.
But beware: there’s a learning curve. You’ll need to understand:
- Stitch angles
- Density settings
- Underlay choices
- Lettering spacing
- Push and pull compensation
For many people, learning to digitize is a great long-term skill—but not ideal for a quick logo job.
Option 3: Auto-Digitizing Tools (with Caution)
Some software offers “auto-digitizing,” where it tries to guess the stitches based on your image.
While this might work for simple designs, it often creates messy results with:
- Excess stitches
- Unreadable text
- Overlapping fills
- Awkward paths and thread breaks
Use only for basic clipart or test projects—not for real logos or client work.
Getting Your Logo Ready for Conversion
Whether you're hiring a digitizer or using software, here are a few tips to prep your logo:
Use a High-Quality Image
Send the highest resolution PNG, JPG, or SVG you have. Blurry images = bad digitizing.
Avoid Shading and Gradients
Embroidery can’t replicate shadows and photo-realistic effects. Simplify colors if possible.
Keep Text Large and Clear
Tiny, script-style fonts may not stitch well. Minimum recommended size: 6mm tall for letters.
Choose the Right Size
Tell your digitizer the final size in inches or mm (e.g., 3.5” wide for a hat, 4” for a left chest logo).
Mention the Fabric Type
Thick fabrics (hats, hoodies) and thin ones (t-shirts, silk) need different digitizing strategies.
PES File Formats – Compatibility Check
PES files work with most Brother and Babylock machines. But be sure your specific model supports PES (most do). Some also accept PHC or DST formats.
Still unsure? Ask your digitizer to send:
- The PES file
- A backup DST file (just in case)
- A PDF preview or stitch chart
Digitizing Buddy includes all of these in their standard delivery package.
Common Mistakes to Avoid
Using low-resolution or pixelated logos
→ Results in jagged, inaccurate stitching.
Guessing the hoop size
→ If your file is too big, your machine may reject it.
Using auto-digitize for complex logos
→ Leads to messy fills, broken paths, and misaligned text.
Skipping test stitch-outs
→ Always test the file on scrap fabric before stitching your final garment.
FAQs
How much does logo to PES conversion cost?
Most pro digitizing services charge between $10–$30, depending on the complexity.
How long does it take?
Professional services like Digitizing Buddy typically deliver within 12–24 hours, with rush options available.
Can I edit a PES file?
You can resize or combine PES files using software like Embrilliance Essentials. But editing actual stitch paths requires digitizing software.
What if my machine doesn’t read the PES file?
Check that your USB drive is formatted correctly (FAT32), and the file is in the correct folder structure. If problems persist, try a DST file instead.
Final Thoughts: Make Your Logo Machine-Ready the Right Way
Turning your logo into a PES file is the first step to professional-quality embroidery. But skipping the proper digitizing process can lead to wasted materials, time, and frustration.
Whether you're embroidering hats, polos, jackets, or patches—precision digitizing matters.
Need a reliable, fast, and affordable logo to PES conversion?
Let Digitizing Buddy handle it for you. Their experts manually digitize your design, format it for your machine, and deliver a perfect PES file—ready to stitch, hassle-free.